Tasker 101: 5 Useful Profiles to Help Get You Started with Android Automation
When it comes to automation apps on Android, Tasker is still the king of the hill. For a price of $2.99 on the Google Play Store, it's a great buy for any would-be tinkerer that would like to get into automating actions on their Android device. Then, when you consider that there's a free 7-day trial version available, there's almost no reason that you shouldn't at least test the waters with Tasker.But if you're like me, after hearing about of all the awesome things you can do with Tasker, you installed the app and poked around for 5 minutes before deciding it was too complicated to get into. Eventually, though, I made my first profile, and things started to come together for me. So there's definitely a learning curve with Tasker, but once you've figured out how to make a few simple profiles, it starts getting a lot easier in no time.In an effort to get you on the upward swing of said learning curve, I've come up with 5 simple Tasker profiles that demonstrate several key functions of the app, while simultaneously giving you an idea of how powerful and practical Tasker can be. So hopefully, once you've walked through the steps of creating these profiles, you'll have enough basic knowledge and experience that you'll be able to hit the ground running with your own Tasker creations.
Learning the LingoOne of the first major hurdles when dealing with Tasker is learning what the main functions actually do. To put it simply, Tasker operates a lot like one of the most basic computer programming commands: "If this happens, Then do that." But Tasker uses a different set of names for these functions, so I'll give you some plain-English definitions for the 3 main functions we'll be dealing with today:Profile: A condition (or set of conditions) that must be met before any automated actions (Tasks) will be triggered. Task: An action (or set of actions) that will be automatically triggered when your Profile's conditions are met. Exit Task: An action (or set of actions) that will be automatically triggered as soon as your Profile's conditions stop being met.Don't Miss: How to Create a Task in Tasker
Before We BeginFor this first profile, I'll go over each step in great detail, using screenshots to depict every button press in the process. But once you've got the general gist of how creating a profile works, I'll assume you've learned your way around a bit, and I won't bore you with redundant details in the profiles that follow. So if you're just starting off with Tasker, please be sure to at least walk through the first profile before skipping ahead to any others.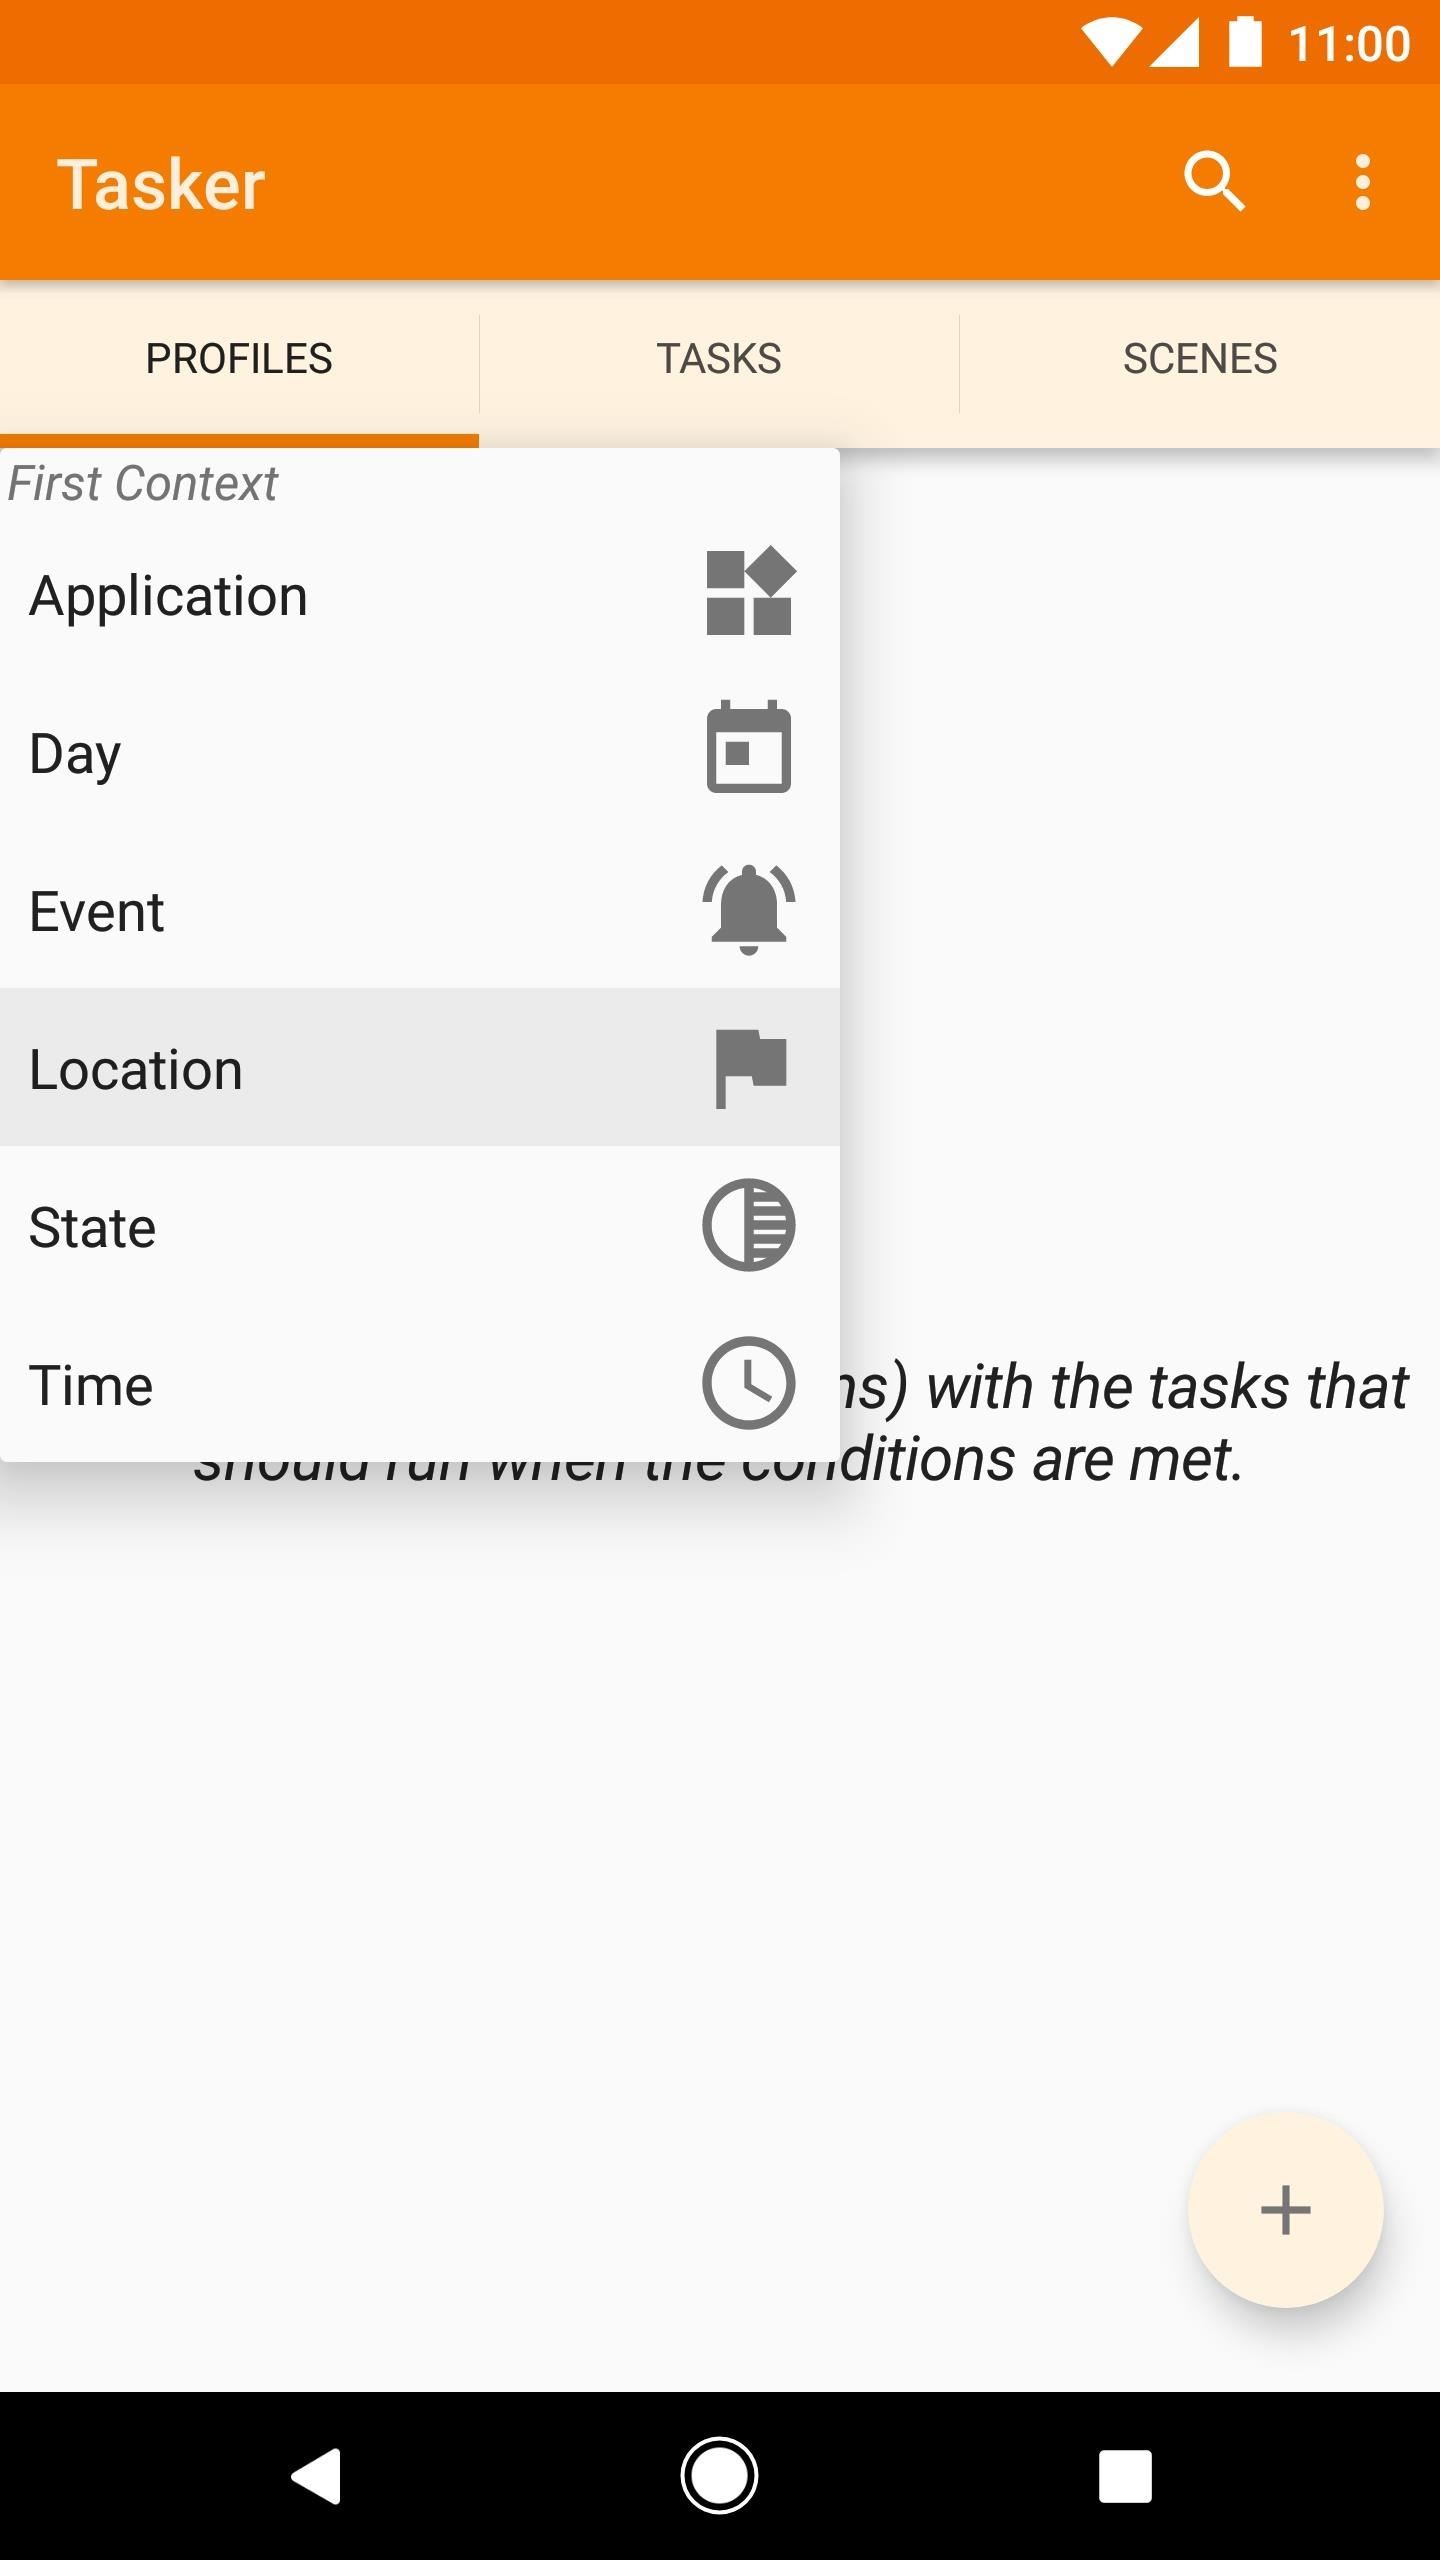
Profile #1: Enable Wi-Fi When You're at HomeThis first profile is simple to make, but quite useful nonetheless. Say, for instance, that you only use Wi-Fi when you're at home. At all other times, your active Wi-Fi radio is draining your battery unnecessarily, so let's have Tasker turn Wi-Fi off when you're on the road, then turn it back on when you get home.From the Profiles tab in Tasker's main menu, start by tapping the + button in the bottom-right corner, then selecting the "Location" option. Next, tap the GPS icon near the top of the screen (while you're at home) to get a fix on your location. When you're done here, tap your device's back button to head out to Tasker's main menu again. Next, Tasker will prompt you to name this location, so type "Home" into the provided text field, then hit the check mark. At this point, you've finished creating your first profile. As you'll notice going forward, Tasker will always immediately prompt you to associate a task with any newly-created profile.So after naming your location and hitting the check mark to finalize your profile, a small pop-up will appear. Tap "New Task" on this pop-up, then you'll be given an opportunity to name this task. As it says, this part is optional, since naming your tasks really only helps with organization. So to simplify things for now, I'd suggest leaving the field blank and just tapping the checkmark here. Next up, you'll be taken to the Task Edit screen—this is where you can add a new action or set of actions to your task. To do so, tap the + button at the bottom of the screen, then you'll be presented with a menu that contains all of Tasker's available actions in various categories.Rather than sifting through the categories to find the action you're looking for, I'd suggest using the Filter field at the bottom of this menu. So type "WiFi" into this field, then select the action labeled simply "WiFi." At this point, you'll be taken to the Action Edit menu, which allows you to specify certain properties for any action in your task. Using this particular profile as an example, we've selected "WiFi" as an action for our task, and now the Action Edit menu will allow us to specify exactly what we want to do with Wi-Fi.Since our location-based profile will trigger this task when we arrive at home, we want Wi-Fi to be turned on in this instance. So tap the drop-down menu directly beneath the Set category, then select "On." At this point, you've finished creating your first task, so tap your device's back button twice to review your work on Tasker's main menu. Next, it's time to create an exit task to automate the process of turning off Wi-Fi when you leave home and your profile's conditions stop being met.To do that, long-press your initial task (which should be labeled "WiFi On"), then choose "Add Exit Task" from the menu that pops up. From here, select "New Task," and again, you can give this task a name if you'd like, but otherwise, leave the field blank and tap the check mark. An exit task operates in exactly the same manner as a regular task, so these next few menus should already seem familiar to you. Start by tapping the + button at the bottom of the screen to add an action to your exit task, then use the next menu to search for "WiFi" again.After selecting the action labeled simply "WiFi" again, you'll be taken to the Action Edit menu. This time, since you're telling Tasker what you want it to do when you're not at your profile's location, leave the Set category set to "Off," then tap your device's back button twice to head out to the main menu. Congratulations, you've just created your first Tasker profile! To get a feel for how it operates, just take a peek at the screenshot below. First, you'll see that your profile only becomes active when your device is at home. Once active, your profile executes the "WiFi On" task, which turns your Wi-Fi radio on, of course. When you leave home and the conditions of your profile stop being met, the "WiFi Off" exit task will be triggered, which will turn your Wi-Fi radio off again.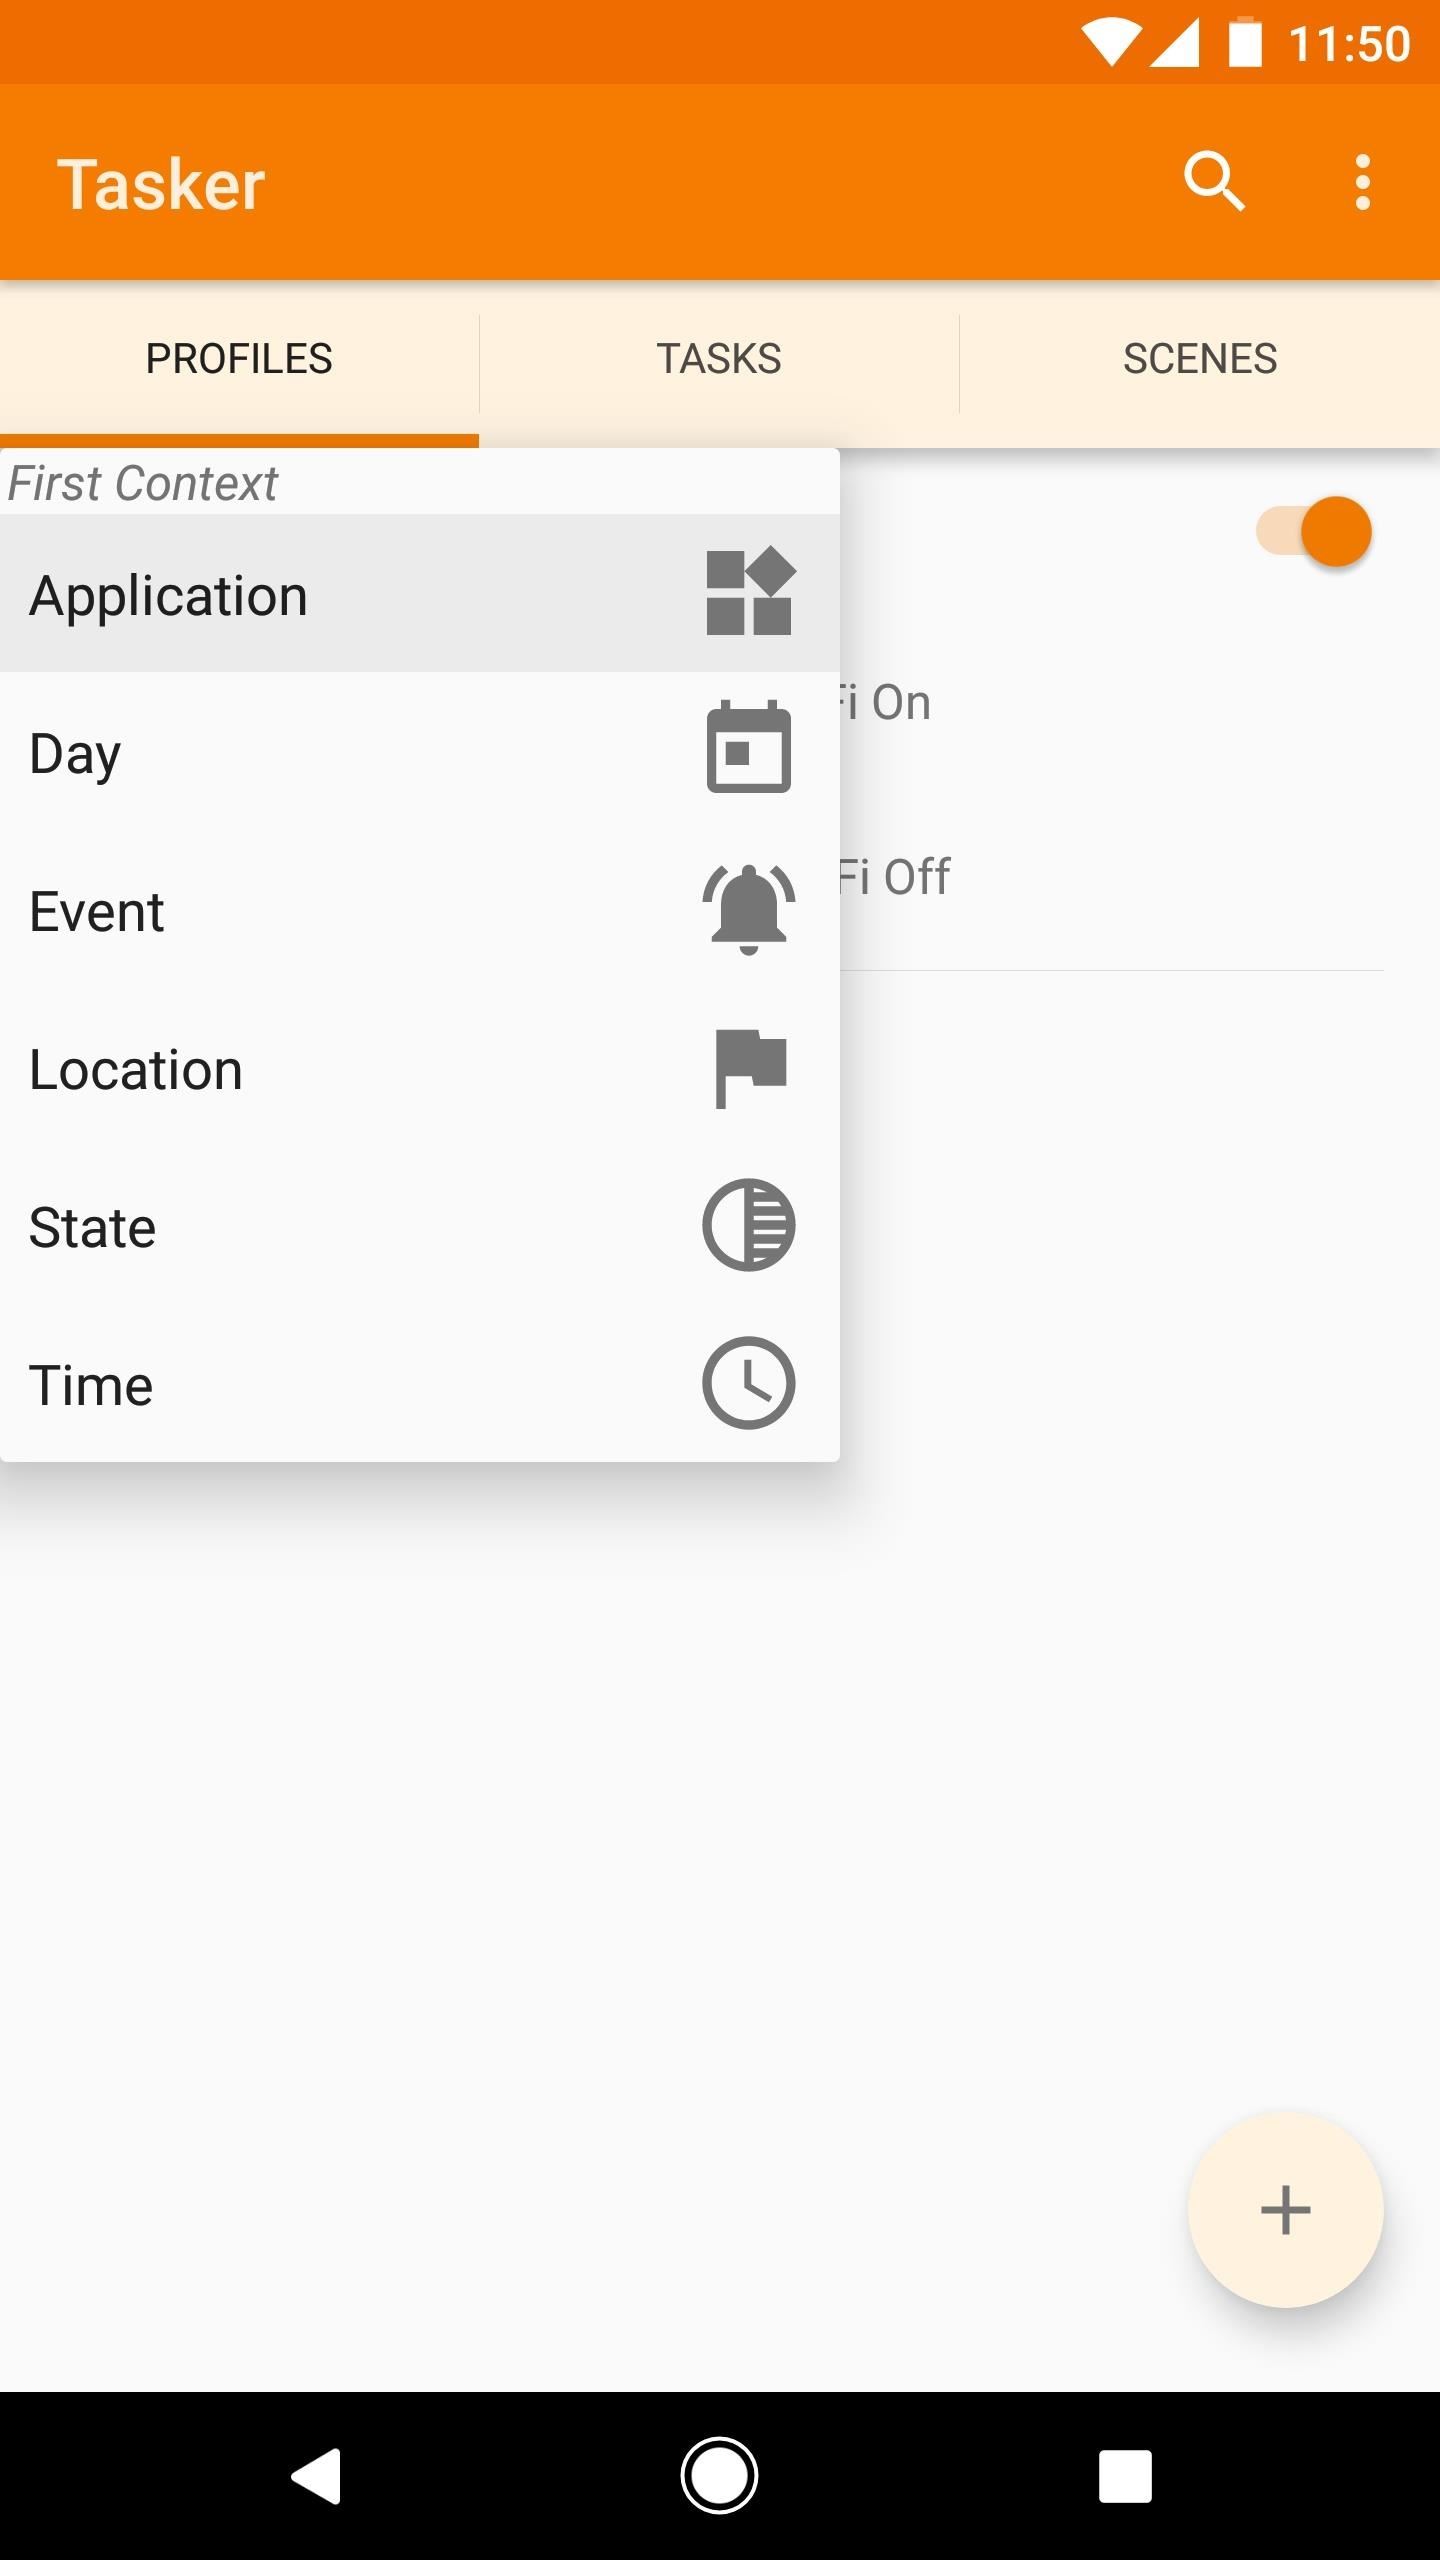
Profile #2: Disable Auto Rotation in Certain AppsThis second profile will be useful if you have any apps that you'd like to lock into portrait orientation. Rather than disabling auto-rotation on your entire phone, you can have Tasker disable it for you, but only when you're using certain apps.From the Profiles tab in Tasker's main menu, tap the + button in the bottom-right corner, then select "Application." Next, you'll see a list of all the apps you have installed on your phone. Tap any of the apps in this list to select them, then press your device's back button once. At this point, Tasker will inform you that you need to enable its Accessibility service to use this feature, so press "OK" on the pop-up. From here, you'll be taken to a system settings menu. Select the "Tasker" entry here, then on the next screen, toggle the switch to "On." Next, press "OK" on the pop-up to verify your selection, then tap your device's back button twice to head back out to Tasker. From here, you'll be prompted to associate a new task with the profile you've just created. Tap "New Task," then press the check mark when asked to name your task.Once in the Task Edit menu, tap the + button at the bottom of the screen to add a new action to your task, then use the filter field to search the term "rotate" and select the "Display AutoRotate" entry. Finally, make sure the Set category in the Action Edit menu is set to "Off," then press your device's back button twice. From Tasker's main menu now, long-press your newly-created task (Display AutoRotate Off), then select "Add Exit Task." After that, create your new task, then add another "Display AutoRotate" action to it. Finally, change the Set category to "On," then press your device's back button twice. Reviewing your work, you'll see that when any of your selected apps are in use, your profile will become active. Once active, your profile will disable automatic screen rotation, but once you leave any of your selected apps, the exit task will kick in and turn auto-rotation back on.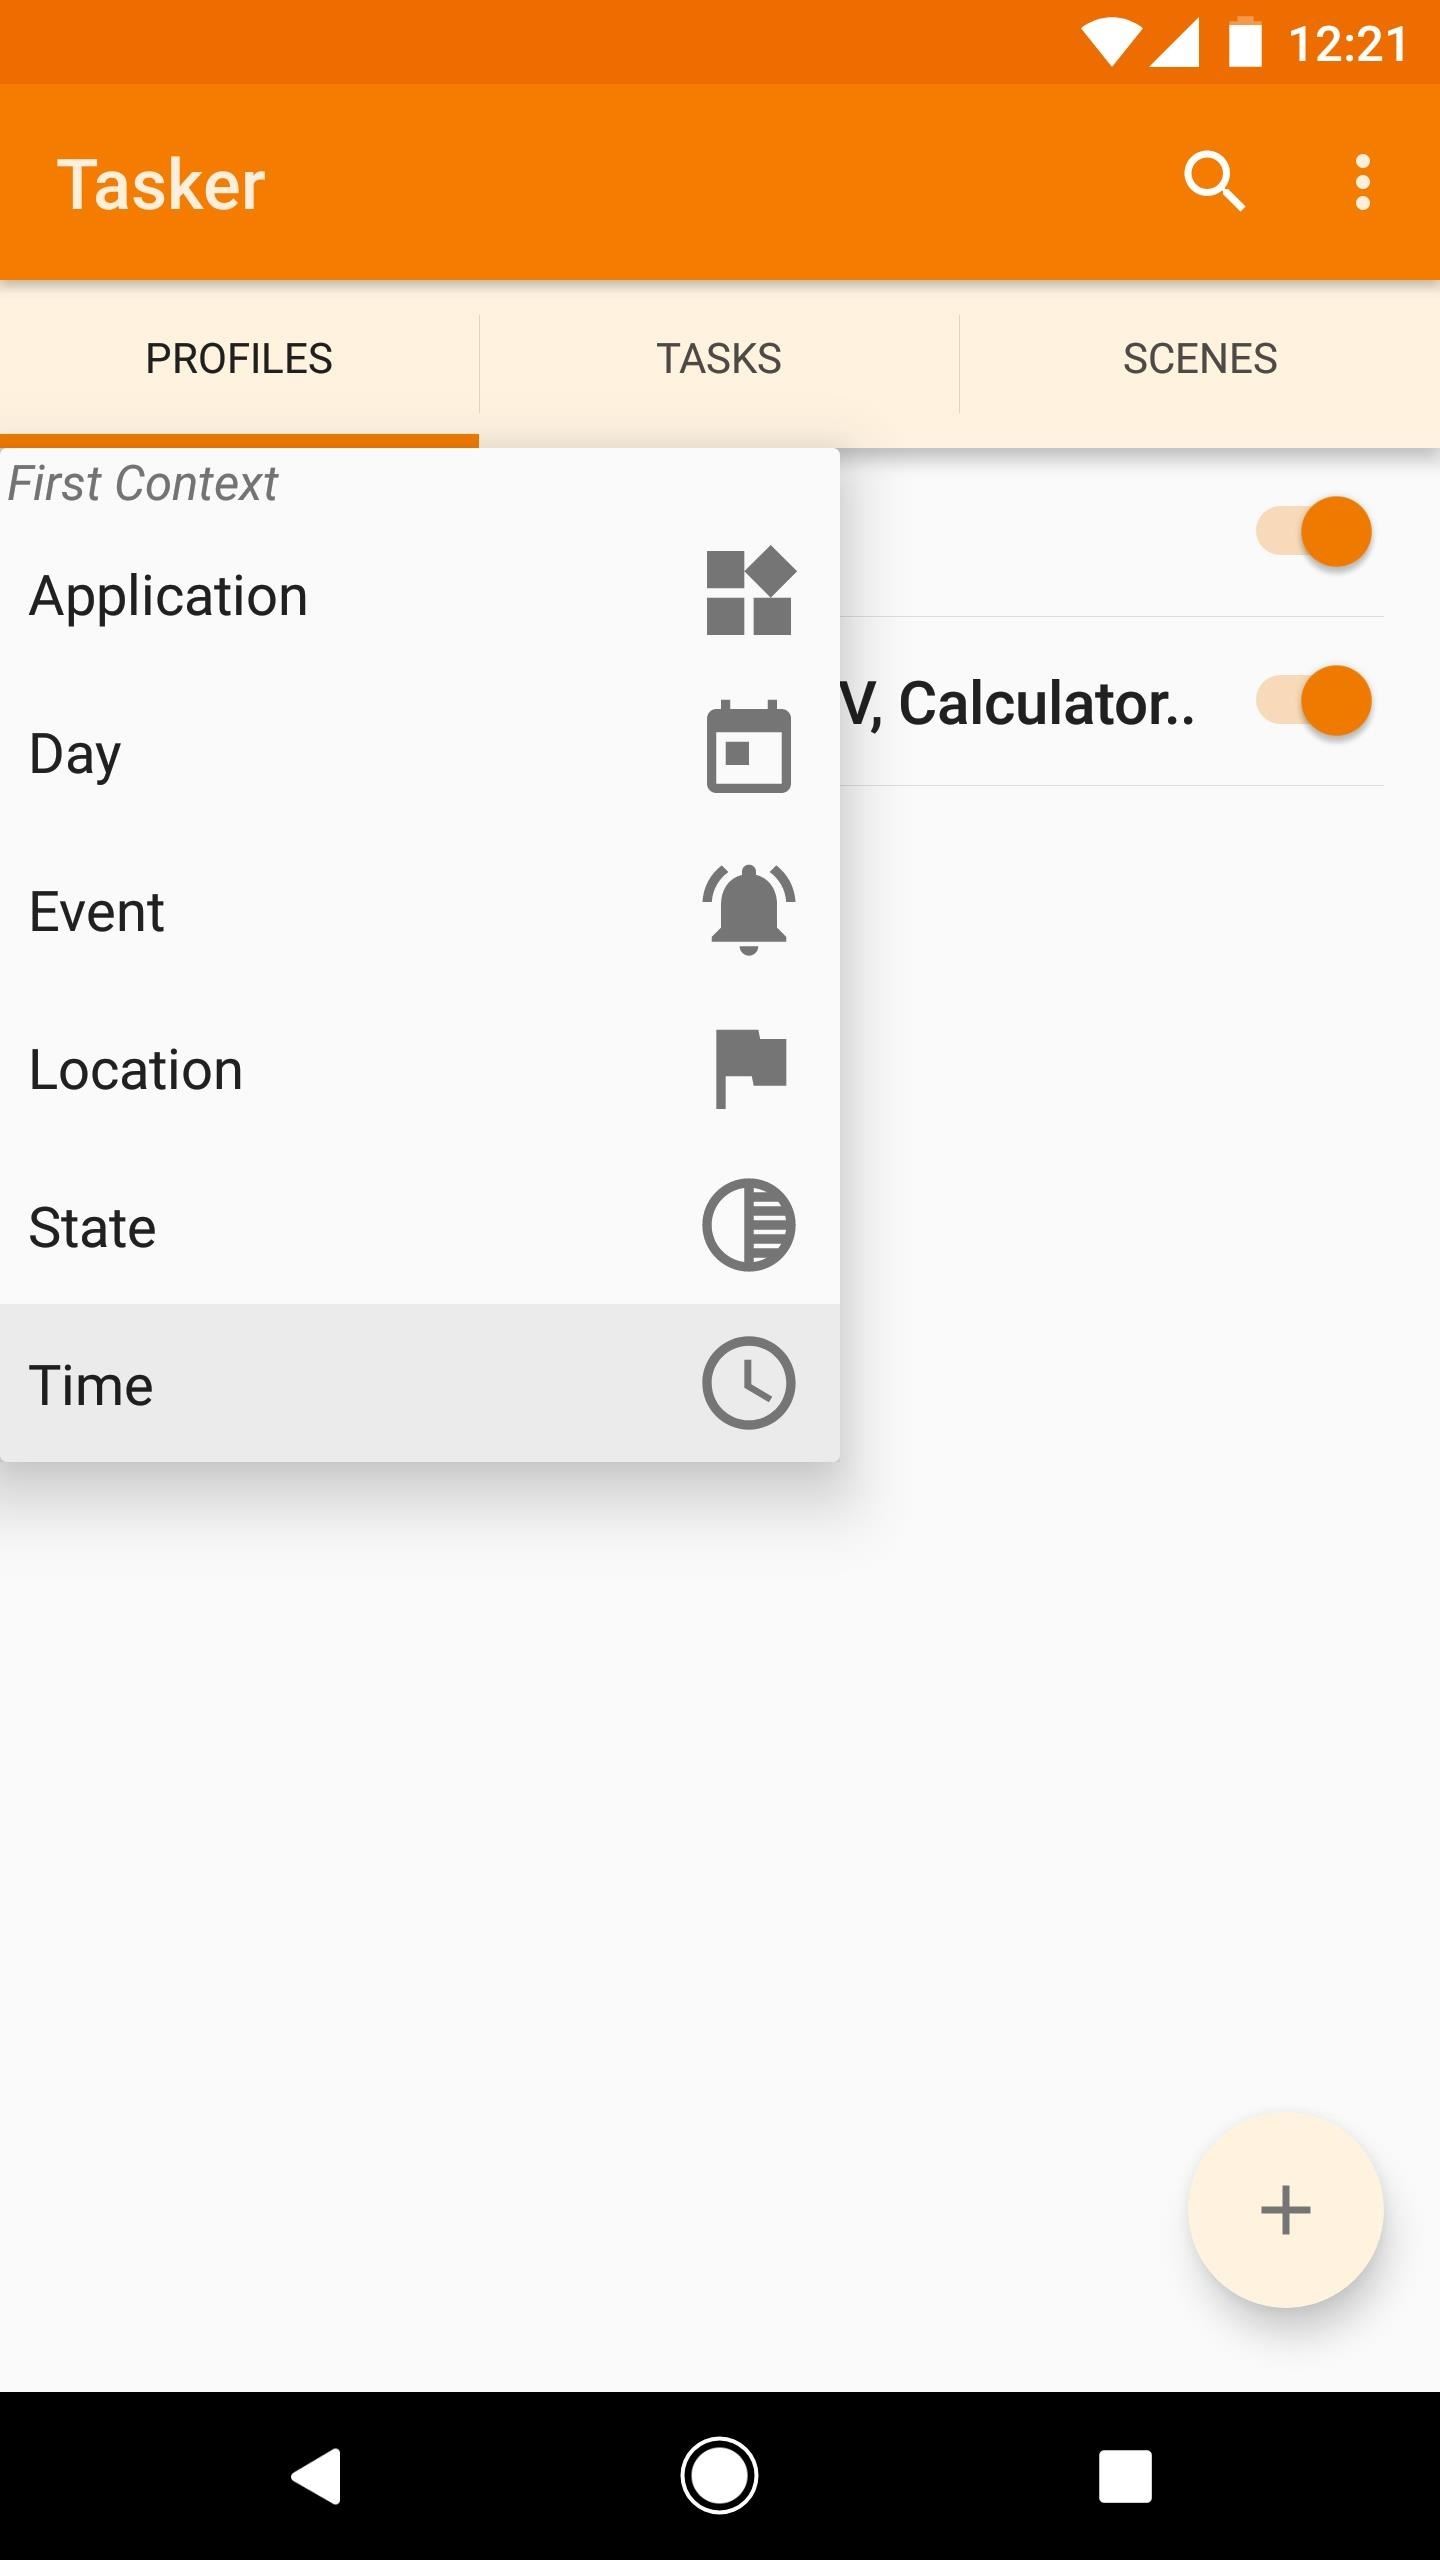
Profile #3: Lower Your Ringtone Volume During Work HoursThis next profile demonstrates Tasker's time-based functions, which can come in handy for triggering events that coincide with your weekly schedule. For this example, we'll be lowering the ringtone volume during normal work hours.To begin, tap the + button in the bottom-right corner of Tasker's main menu, then select "Time." Next, leave the selection boxes checked as they are, then set the times in the "From" and "To" fields to depict your normal work hours, and press your device's back button once. When prompted, go ahead and create a new task, then search the term "Volume" and select the "Ringer Volume" action. From here, use the slider near the top of the screen to set your preferred ringtone volume during work hours, then press your device's back button twice. Next, add an exit task to this profile, and again, go with "Ringer Volume" for the action. This time, use the slider to set your preferred ringtone volume during non-work hours, then press your device's back button twice. As you can see, the profile will only be active from 9 AM to 5 PM (unless of course you used different times). During those hours, your ringtone level will be lowered, but your exit task will kick in after work's over to raise the ringtone volume back up.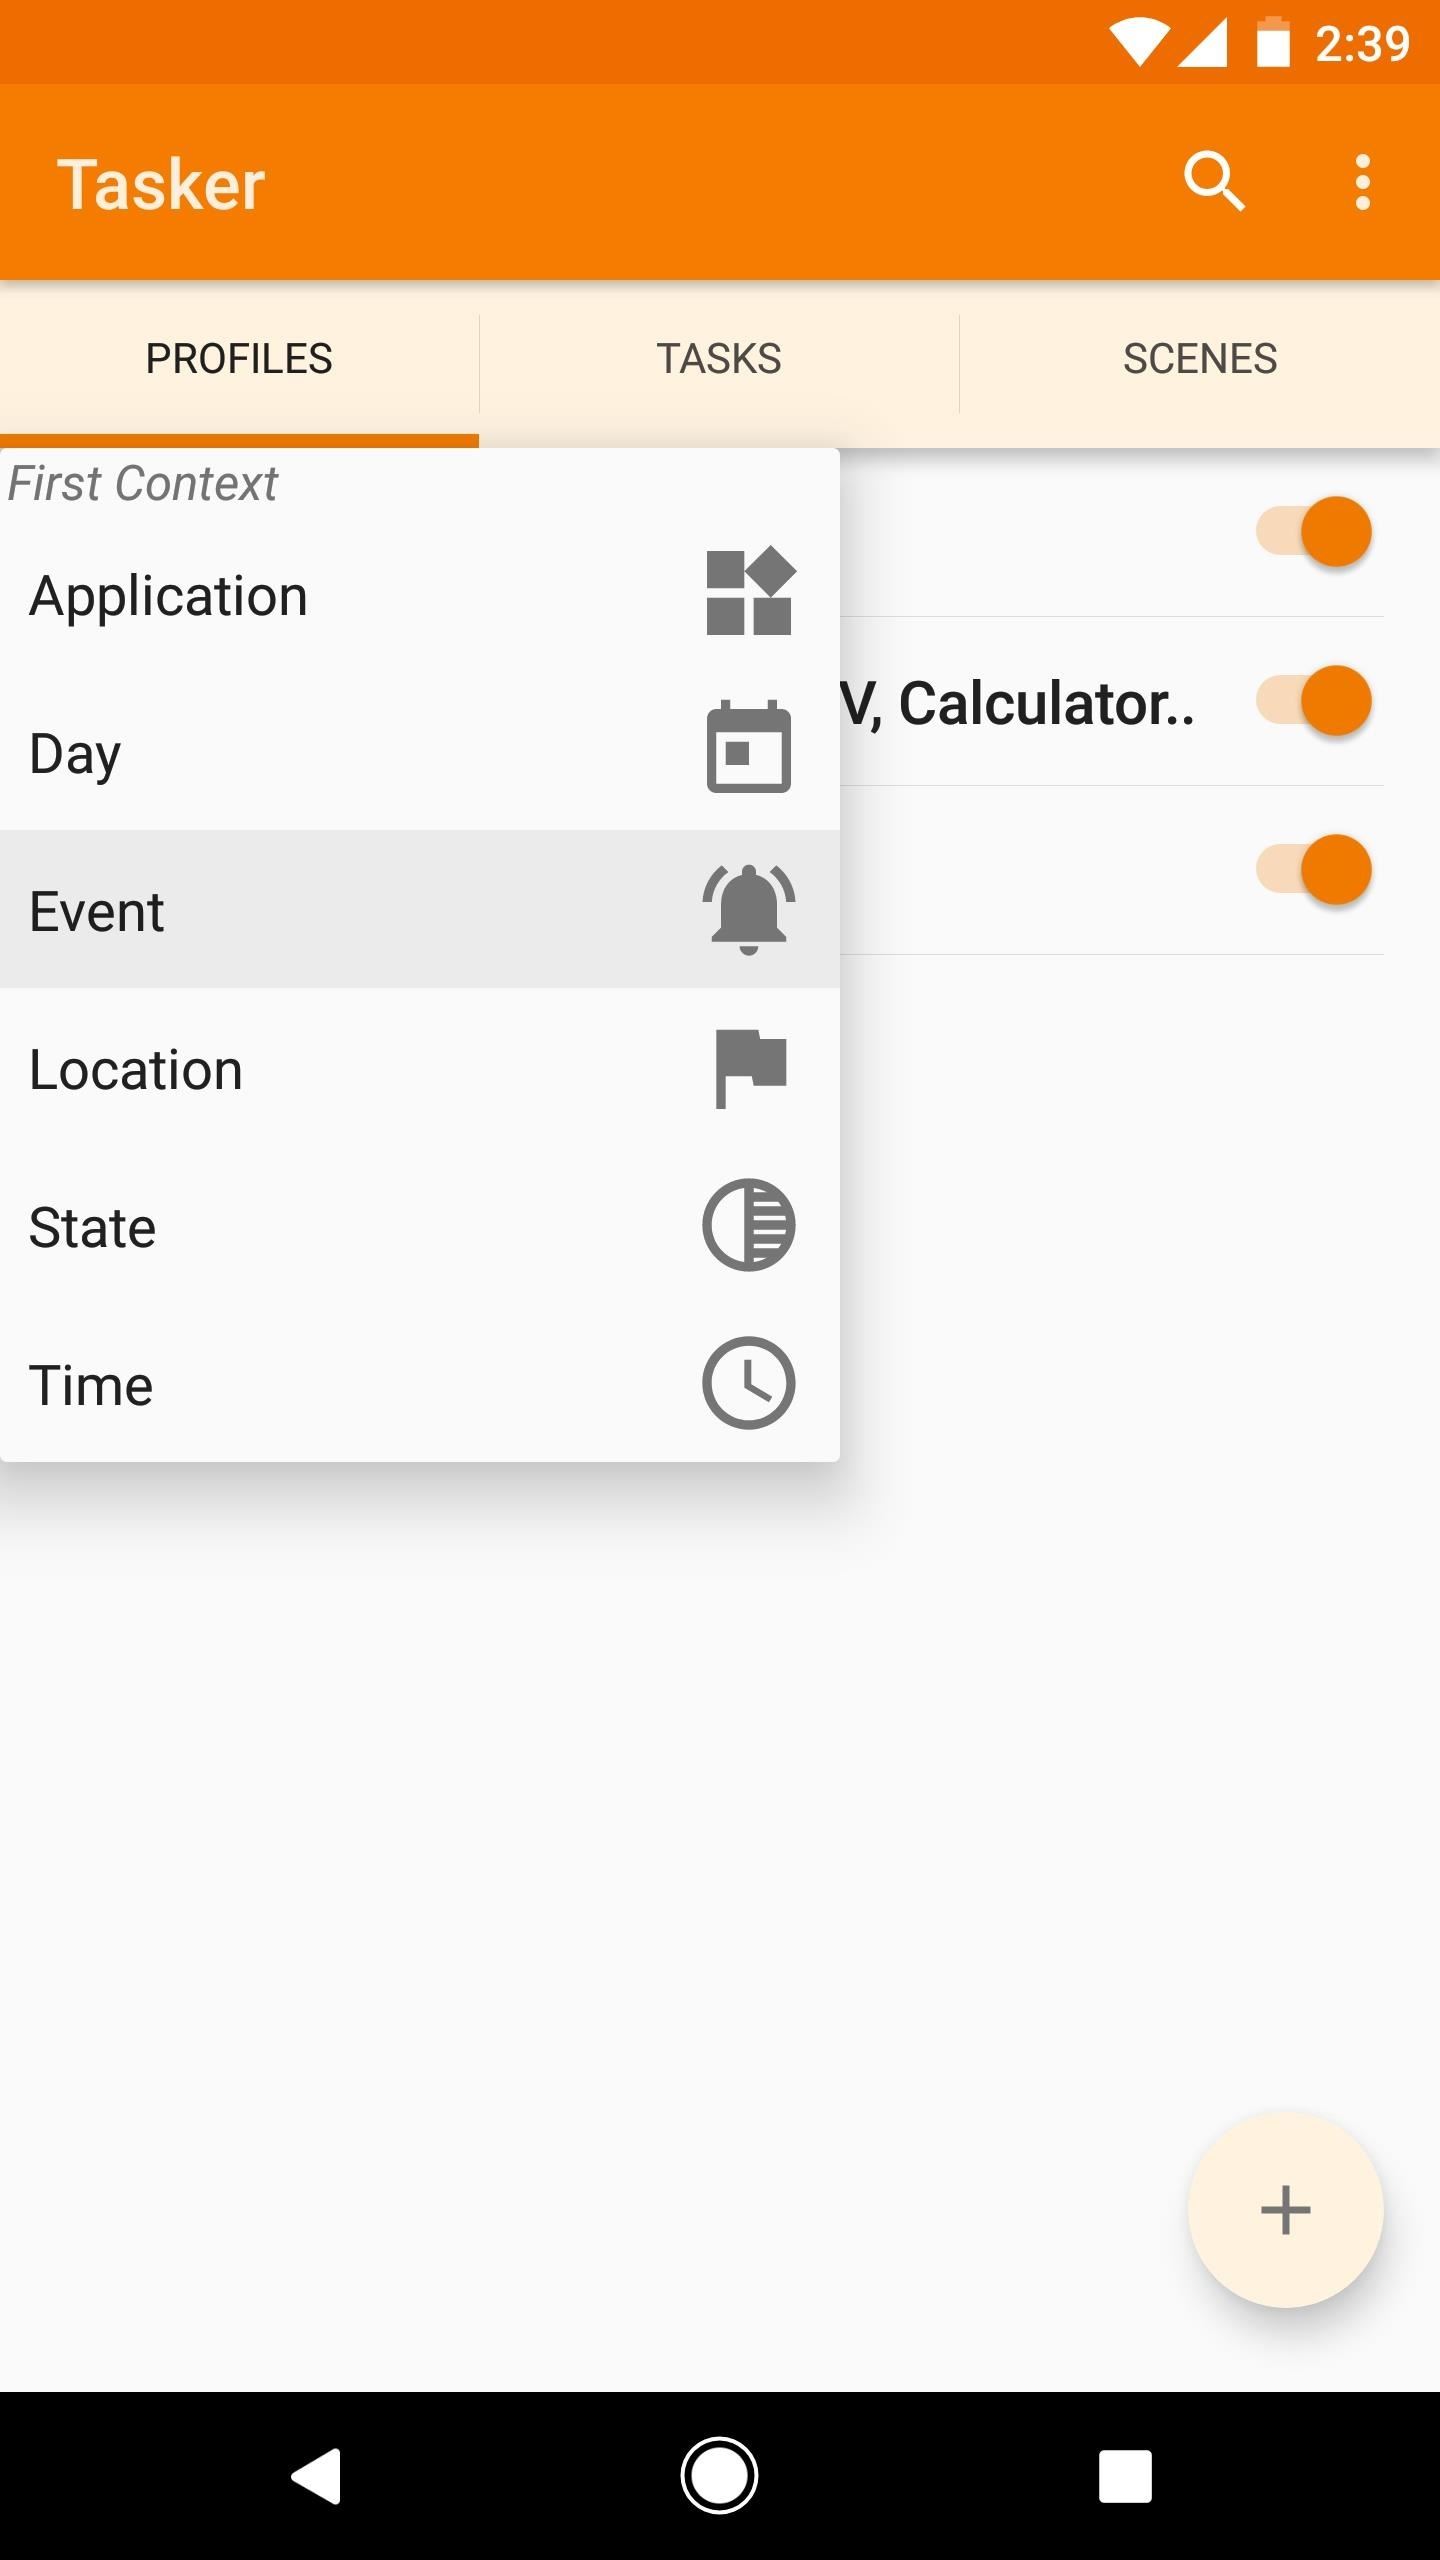
Profile #4: Open Weather App After Your Alarm Goes OffOur fourth profile demonstrates Tasker's Event functionality, which can be triggered when system functions are executed by your phone. In this example, we'll have Tasker launch your favorite weather app after your alarm goes off in the morning.To get started, hit the + button at the bottom of Tasker's main menu, then select "Event." From here, use the search function to locate and select the "Alarm Done" event, then just press your device's back button once when you see the Event Edit menu. Next, associate a new task with this profile, then search for and add the "Launch App" action to it. From here, select your favorite weather app, then press your device's back button two times to head back out to the main menu. From now on, after your alarm goes off in the morning, your favorite weather app will automatically be launched, so you'll know if you need to take an umbrella with you.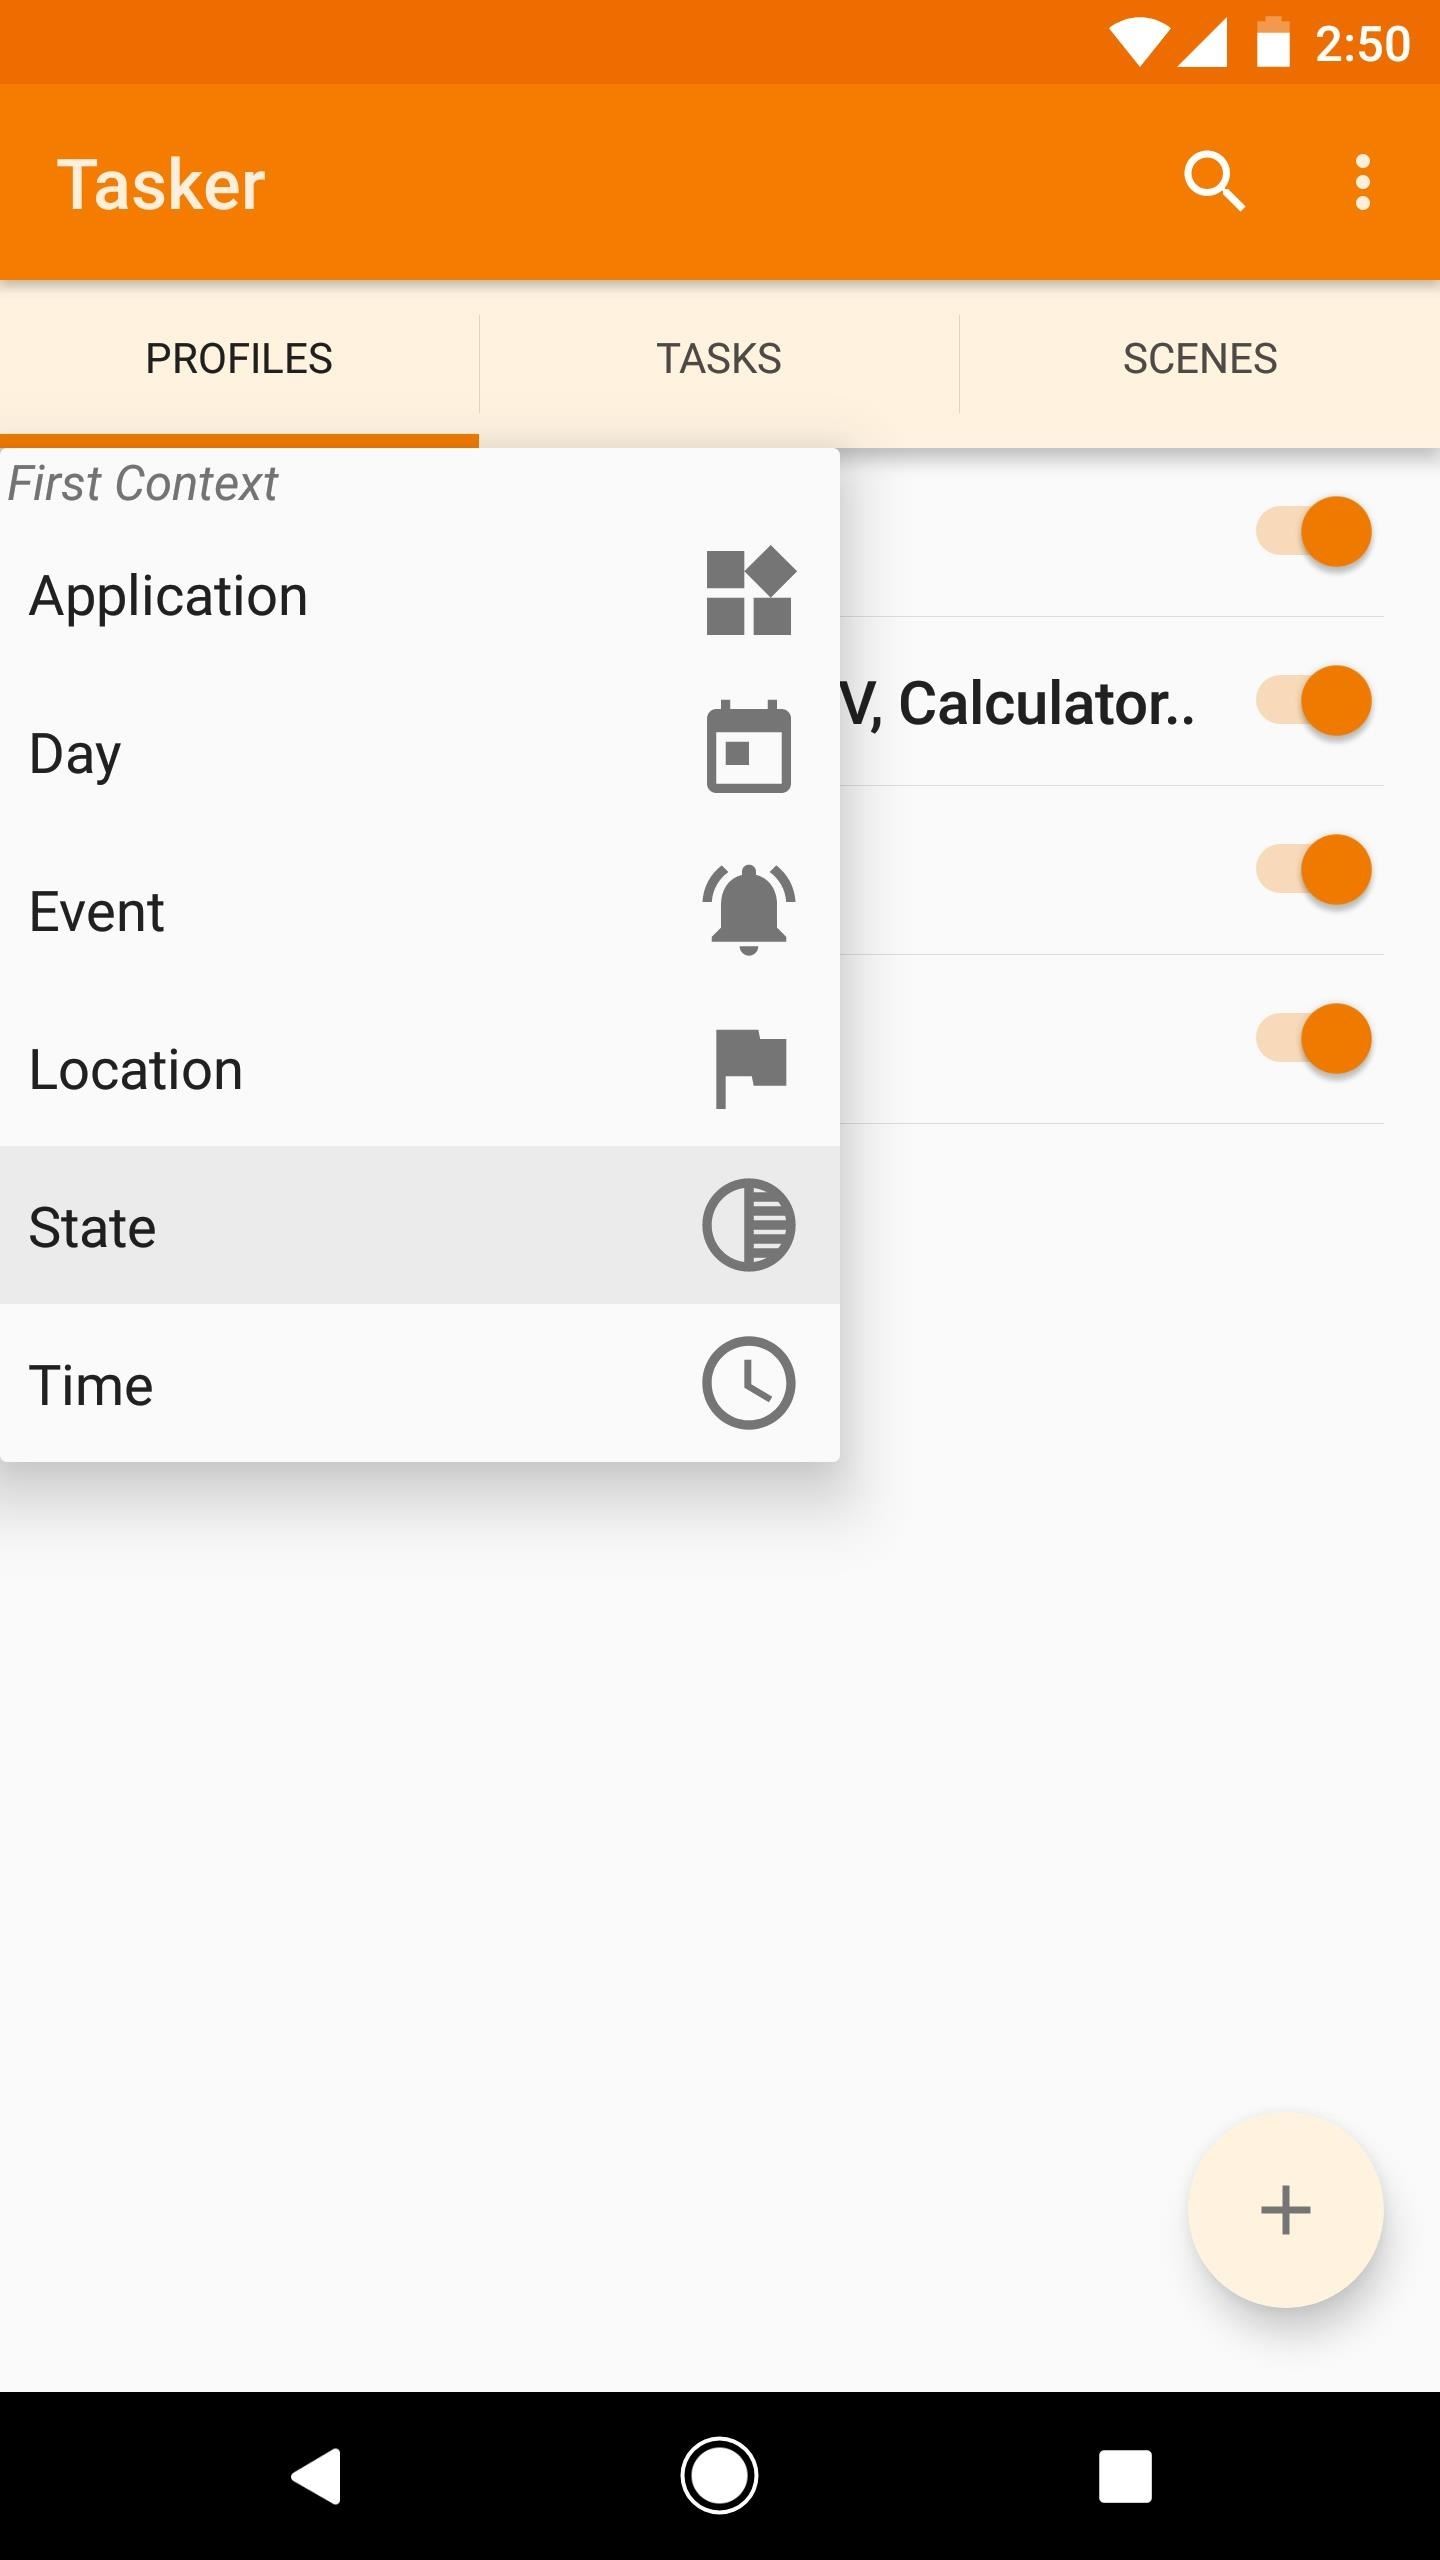
Profile #5: Start Playing Music When You Plug in HeadphonesThis final profile will demonstrate how to add multiple actions to a task. For this example, we'll be opening a music app and starting up the tunes as soon as you plug in a pair of headphones.To begin, create a new profile with "State" as the context. From here, search for and select the "Headset Plugged" state, then leave the State Edit menu set as it is and press your device's back button once. From here, add a new task as you normally would, then add your first action. Use the filter field to search for and select the "Launch App" action. Next, simply select your favorite music player from the list of apps. When you're done here, leave the Action Edit menu alone, then press your device's back button once. Now it's time to add a second action to this task. Tap the + button at the bottom of the screen again, then search for and select the "Media Control" action. From the Action Edit menu for Media Control, use the drop-down menu directly beneath the Cmd field to select "Play {Simulated Only}." When you're done here, press your device's back button twice to head out to Tasker's main menu. Next, add an exit task to this profile, but this time, go with "Media Control" as the first action. From here, select "Pause" from the drop-down menu beneath the Cmd field, then press your device's back button once. After that, hit the + button at the bottom of the screen to add a second action to your exit task. This time, search for and select the "Go Home" action, then use the slider at the top of the Action Edit menu to choose the home screen page that you'd like to see when you unplug your headphones. When you're done here, press your device's back button twice. Now you'll get a chance to review how a profile with multiple actions in the associated task will work. In this instance, when you plug in any headphones, your favorite music app will be launched, then Tasker will automatically hit "play" for you. When you unplug your headphones, Tasker will immediately pause playback so that your music doesn't blast through the loudspeaker, then it will exit the music app and head to one of your home screen pages. These profiles, while useful in and of themselves, were mainly intended to help you learn your way around Tasker. So now that you have a general sense of how Tasker profiles work, you can delete these if you want, and start creating your own.What Tasker profiles have you created with your freshly-learned Android programming skills? Be sure to let us know in the comment section below.Don't Miss: More Tasker 101 Tutorials for All Your Automation NeedsFollow Gadget Hacks on Facebook, Twitter, Google+, YouTube, and Instagram Follow WonderHowTo on Facebook, Twitter, Pinterest, and Google+
Cover image and screenshots by Dallas Thomas/Gadget Hacks
When your phone gets a major update like Android Nougat, you may not think of the Settings as the first thing to run off and check. But don't underestimate the value in some of the changes to
How to Edit the Settings Menu on Your Android Device
One or more of the solutions listed below could work to fix the problem evening you are running iOS 12 or you meet this problem after iOS 12 update. We advise you to try one after the other until your missing contacts are back. 5 Ways to Fix iPhone Contacts Missing Names(iOS 12 Supported)
iPhone Contacts Disappeared? How to Fix Missing Phone
osxdaily.com/2016/07/21/iphone-contacts-disappeared-fix/
Perhaps because it is so random and thus difficult to replicate in any reliable fashion is why such a bug persists and has not yet been resolved in the latest versions of iOS (iOS 9.3.3 included). Fortunately, the fix is straight forward, so if you find your contacts are missing, favorites are gone, and the Phone app in iPhone is blank, reboot
iPhone Contacts Missing Names after iOS 11/11.1 Update? Fix
Are you wondering how to record calls on your iPhone? It isn't as easy as you might think. Here are some free apps and services that can help get the job done, plus a selection of apps that charge
How to Record Phone Calls on an iPhone (with Pictures
It's hard enough to actually type emails and notes on the small keyboard, but when auto-correction thinks it knows more about what you're writing than you do, it could become frustrating. So how do you stop Auto-Correct? Best Buy has answers. The Best Buy Mobile team explains how simple it is to turn off Auto-Correction on the Apple iPhone 3G.
How Do I Turn Off Autocorrect On An iPhone? Here's The Fix!
Finally you can check your offline enabled documents by clicking the Gear icon and from the drop down menu choosing "View offline Docs" To access your Google Drive Docs for edit in offline go to Chrome New tab when there is no internet connection and click on the Google Drive web app. Update: Enable Google Docs Offline Edit Mode
How Do I View and Edit Google Drive Documents Offline?
If you tried all the solutions we have listed here, and nothing seems to work, delete that app. There are many fun and useful apps on Google Play so you can probably find a similar app. To stop apps from crashing: Don't use too many apps at once; Make sure your apps are up to date; Clear apps cache and data (at least for the apps you use
Close ALL Applications - Apps on Google Play
Samsung Galaxy S5: How to Clear Cache and Cookies for Faster Browsing How To: Get the Galaxy S5's Ultra Power Saving Mode on Your Note 3 Grayscale Mode in iOS 8: Proof That the Next iPhone Will Sport an AMOLED Display? How To: Easily Change Boot Animations on Your Samsung Galaxy S5
Add Any Apps to Ultra Power-Saving Mode on the Galaxy S5
google maps turn off labels label your favorite places google maps with stickers.w1456 {Label Gallery} Get some ideas to make labels for bottles, jars, packages, products, boxes or classroom activities for free.
Google Maps Now Lets You Organize Your Favorite Places Into
iPhone Dev-team member Planetbeing (the same guy who ported the Linux 2.6 kernel to the iPhone in 2008) uploaded a video to YouTube Wednesday evening that shows him successfully running Android on
HowTo: Use Skype over 3G on an American Google Android
First Time Ever Seen: Secret of Light: 140 Year old mystery solved! Crookes Radiometer - Duration: 15:37. Theoria Apophasis 1,281,039 views
Experiments to do at home | Rivervale Primary Science
The WR400 Deluxe NOAA Weather Radio uses digital S.A.M.E. technology to lock into your county's warning system, giving you instant weather updates from the National Weather Service. The USB output allows you to charge devices directly from the radio. Program up to 25 counties with 80 different emergency alerts.
Opção binária Americana
The Gauss Rifle also known as the Gaussian gun is a very simple experiment that uses a magnetic chain reaction to launch a steel marble at a target at high speed. This educational and amusing project is very simple to build (it only takes a few minutes), is is very simple to understand and explain, and yet fascinating to watch and to use.
Watch a Fully Automatic Electromagnetic Pulse Rifle Demolish
0 comments:
Post a Comment